
Building a new home is one of those life milestones that feels equal parts exciting and overwhelming. Between mortgage paperwork and paint swatches, there’s a whole world of decisions waiting for you. The good news? Breaking it down makes everything feel more manageable.
Most new builds follow seven clear phases, starting with that first step of getting pre-approved and ending with those sweet closing-day keys in your hand. Along the way, you’ll pick your lot, tweak floor plans to fit your life, and watch your actual home rise from the ground up. Each stage has its own rhythm and its own set of choices to make.
Of course, it takes a village. You’ll be coordinating with builders, lenders, and inspectors throughout the process. Timelines will shift, unexpected costs pop up, and some checkpoints get trickier than others.
But knowing what lies ahead helps you roll with the punches and actually enjoy the journey.
Step 1: Lock in Financing With Pre-Approval
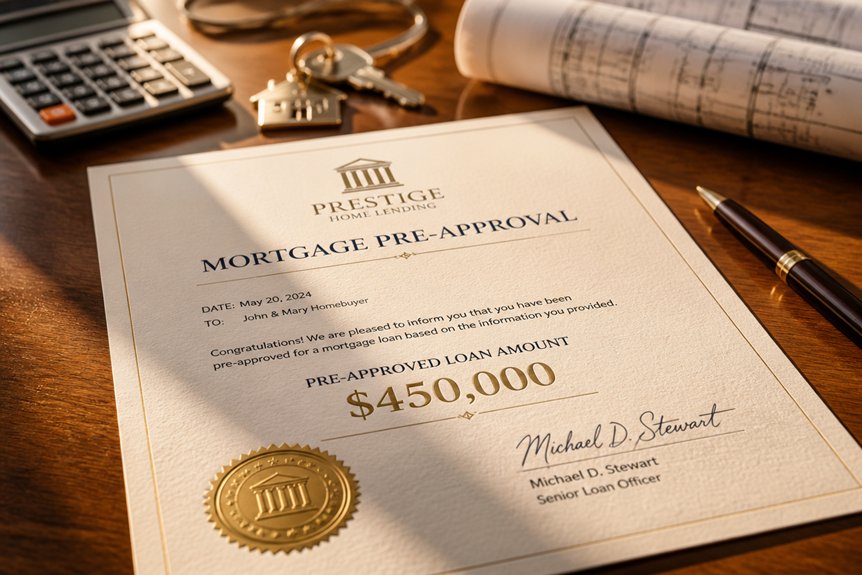
Before you start house hunting, get pre-approved for a mortgage. This means submitting pay stubs, tax returns, and bank statements to a lender. They’ll review your finances and credit history.
The lender will tell you the maximum loan amount you qualify for. This usually falls between $150,000 and $500,000. You’ll receive a pre-approval letter to use when making offers.
This letter gives you a clear budget for your search. You can focus only on homes you can actually afford. No more wasting time on properties outside your reach.
Pre-approval also locks in your interest rate for a limited time. This protects you if rates go up while you’re shopping. It’s a simple step that makes the whole process smoother.
Step 2: Find the Right Lot and Make an Offer
With pre-approval in hand, you can start searching for available lots in your desired area. Real estate agents provide listings with key details like lot size, location, and zoning restrictions. They also show utility availability and other important factors.
Evaluate each lot carefully. Consider its proximity to schools, your workplace, and nearby amenities. These elements affect your daily life and future resale value.
Once you find a suitable lot, submit a purchase offer. Include your proposed price, any contingencies, and your preferred closing date. The seller can accept, reject, or counter your offer. Negotiations continue until you both reach an agreement.
After acceptance, you’ll typically pay earnest money. This shows you’re committed to the purchase. The purchase agreement then becomes binding, and you can move forward with construction planning.
Step 3: Customize Your Floor Plan and Select Finishes
Now that your lot is secured, you can work with your builder to shape your future home. This is where your vision starts to take real form.
You’ll customize your floor plan first. Choose room layouts that fit how you actually live. Adjust wall placements if you need more open space or extra rooms. Discuss any structural changes now while they’re still easy to make.
Next comes the fun part: selecting your finishes. Pick flooring materials like tile or hardwood. Choose paint colors that set the right mood. Select countertops, cabinetry, and fixtures that reflect your style.
Your kitchen and bathroom decisions matter too. Decide on appliances, bathroom features, lighting, and hardware. These details make daily life more enjoyable.
Making choices early saves money. Changes during construction cost far more than decisions made now.
Most builders offer design packages to simplify the process. Others let you customize within your budget. Either way, get everything in writing. This documentation protects you and ensures your finished home matches what you envisioned.
Step 4: Secure Construction Permits and Prepare the Site
Your builder handles the paperwork and site work once your plans are set. They apply for permits covering structure, electrical, plumbing, and HVAC systems. Local offices need detailed plans, proof of ownership, and fees before giving the green light.
The site gets cleared and prepped for work. Crews remove vegetation and debris, then create access roads. They mark utility lines and grade the land for drainage and foundation work. These steps keep the project code-compliant, protect buried lines, and create a safe workspace.
Step 5: Frame, Build Systems, and Complete the Exterior
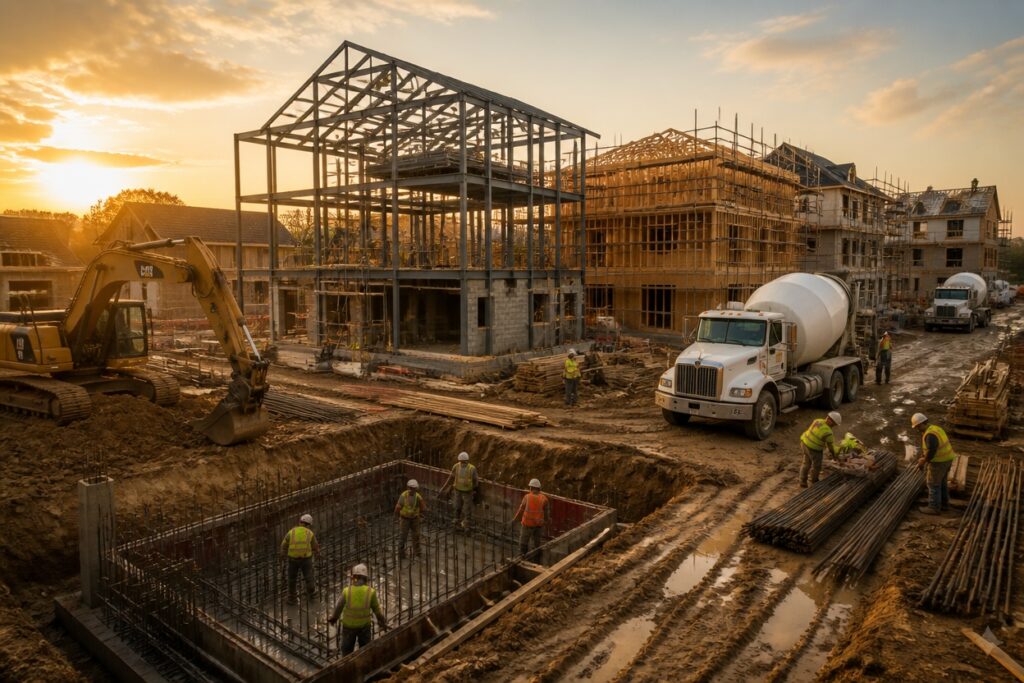
The crew starts with the home’s bones. They pour foundation footings and concrete slabs first. Then they raise the structural skeleton you can actually see taking shape.
Framing comes next. Workers put up wooden or steel studs for walls, floors, and roof trusses. This is when rooms start feeling real. Electrical wiring, plumbing lines, and HVAC ducts all get routed through the open walls and ceilings. Crews add insulation to exterior walls and attic spaces right after.
Sheathing covers the frame to add strength. Roofers follow with shingles or metal panels. Windows and exterior doors go in to close up the openings. Finally, siding, brick, or stone cladding protects everything underneath. The home becomes weather-tight by the end of this phase.
Step 6: Install Interior Finishes and Pass Final Inspections
Interior finishing turns the weather-tight shell into a home you can actually live in.
Workers hang drywall and tape the joints. They add joint compound to make the walls smooth. Flooring goes down next. You might choose wood, tile, or carpet for different rooms. Cabinets and countertops go in where you need them. Painters brush finish coats onto walls and trim. Electricians add outlets, switches, and light fixtures. Plumbers connect sinks, tubs, and toilets. They test everything to make sure water flows right. HVAC techs balance airflow so each room stays comfortable.
Final inspections come last. Inspectors check that all systems meet code. They look at safety standards and local rules. Once everything passes, homeowners get their occupancy permits. Then the house is truly ready.
Step 7: Close on Your New Home and Move In
After all inspections pass and the builder finishes up, closing begins. You’ll receive a closing disclosure to review. This document shows your final loan terms, costs, and payment amounts.
A title company will walk through the home one last time. They check that everything looks right and all repairs are done. You’ll need to get homeowner’s insurance lined up. Bring your ID to the closing meeting.
At closing, you’ll sign papers and transfer funds. Then the keys are yours. Once funding clears, you officially own the home. You can move in and start making it your own.
Frequently Asked Questions
How Long Does the Entire New Home Construction Process Typically Take?
The entire new home construction process typically takes between 12 to 18 months from start to finish. This timeline encompasses planning, permitting, foundation work, framing, interior systems installation, finishing touches, and final inspections.
What Are the Main Cost Overruns That Occur During New Home Construction?
Common cost overruns in new home construction include supply chain delays, labor shortages, design changes, permit complications, and unforeseen structural issues. Material price fluctuations and weather-related delays further strain budgets beyond initial estimates.
Can I Make Changes to My Home Design After Construction Has Started?
Like shifting architectural foundations mid-construction, design changes after work begins become increasingly complicated and costly. Modifications are possible but typically require change orders, contractor approvals, and potential delays affecting the project timeline and budget.
What Insurance Coverage Do I Need During the Construction Phase?
Homeowners typically need builder’s risk insurance, which covers the structure during construction, and general liability coverage. They should verify property damage, theft, and weather-related protection are included in their policy.
How Do Builder Warranties Work and What Do They Typically Cover?
Like a safety net beneath a tightrope walker, builder warranties protect homeowners from defects. They typically cover structural issues, mechanical systems, and materials for one to ten years, depending on the warranty tier and jurisdiction.
Conclusion
The new home construction process requires securing financing, selecting a lot, customizing designs, obtaining permits, completing framing and systems, installing finishes, and passing inspections. Each step builds upon the previous one, moving homeowners from pre-approval through site preparation, construction phases, and final walkthroughs. Following this systematic approach guarantees compliance with codes, quality standards, and timeline expectations, ultimately delivering a completed home ready for occupancy.