
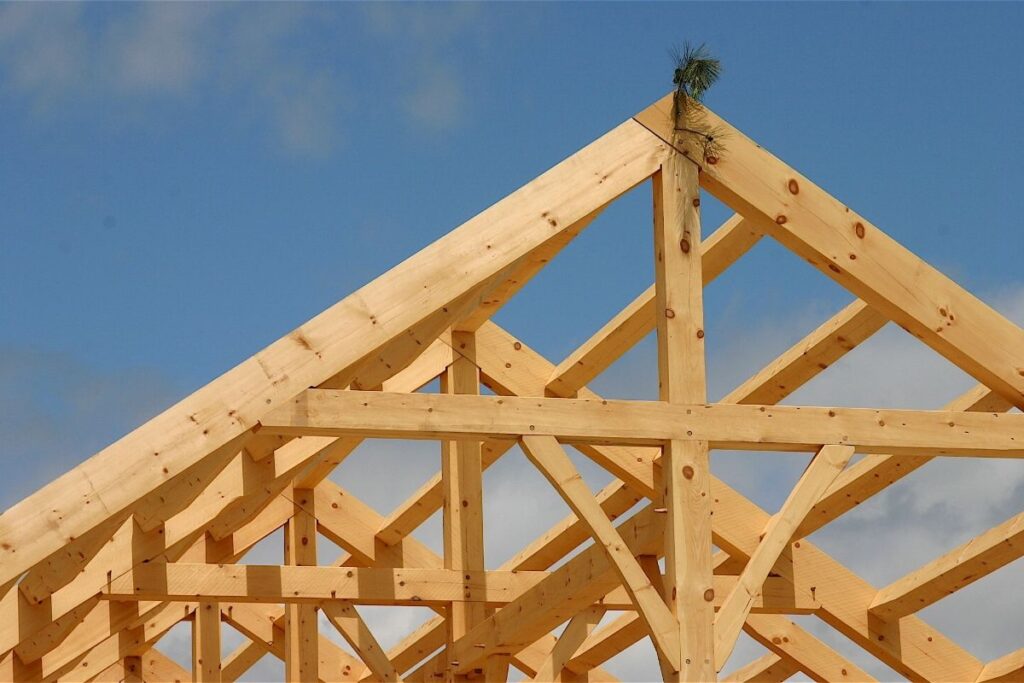
A timber frame kit takes a lot of the guesswork out of building a garden structure. The cuts are made, the joints are pre-formed, and the instructions usually walk through assembly step by step. What catches people out more often is not knowing what tools to have on hand before the kit even arrives.
Turning up to assembly day with the wrong tools, or missing one entirely, tends to turn a weekend project into something far longer. This guide covers what to gather beforehand, from the basics every kit needs to the extra equipment that larger structures call for.
Why Tool Preparation Matters
Most timber frame kits assume a certain baseline of tools already exists in the shed. Manufacturers rarely include anything beyond fixings, because tool requirements vary depending on ground conditions, kit size, and how the structure is being anchored.
Working through the tool list before delivery day means less time spent driving to a hardware shop mid-build, and fewer joints left half-fitted overnight because something was missing. It also makes the whole process noticeably safer, since rushing to substitute one tool for another is where most assembly mistakes happen.
Hand Tools for the Basics
A surprising amount of a timber frame build still comes down to hand tools, particularly during the marking and fitting stages.
A few essentials worth having within reach include a claw hammer for fitting joints and adjusting alignment, a sharp wood chisel for trimming pre-cut joints that sit slightly tight, a hand saw for any on-site adjustments, and a spirit level, ideally both a long one for posts and a smaller torpedo level for braces. These tools handle the fine adjustments that power tools often can’t, especially where a joint needs a small amount of persuasion rather than force.
Measuring and Marking Tools
A tape measure and a combination square cover most of what’s needed for checking spacing and squaring up frames. A chalk line is useful too, particularly when marking post positions across a base before anything goes vertical.
Power Tools That Save Time
Power tools aren’t strictly necessary for every kit, but they make a noticeable difference on anything beyond a small screen or raised bed.
A cordless drill driver is the one tool almost every build relies on, both for pre-drilling holes and driving the screws or bolts supplied with the kit. A circular saw or jigsaw covers any timber that needs trimming to fit, which happens more often than kit instructions sometimes suggest, particularly where ground levels aren’t perfectly even.
An impact driver is worth adding for anything with heavier fixings, such as coach bolts or structural screws, since a standard drill driver can struggle once fasteners get longer than around 100mm.
Setting Out and Levelling Equipment
Getting posts upright and level before anything is fixed permanently saves a huge amount of frustration later. A few pieces of equipment make this stage far easier, including a post level, which clips onto the post and shows plumb on two faces at once, temporary timber braces to hold posts in position while concrete or fixings set, and a string line for keeping a row of posts in alignment.
For anything larger than a single pergola, a laser level is genuinely useful. It removes a lot of the back-and-forth checking that comes with a standard spirit level across a wide structure.
Fasteners, Brackets, and Hardware
Most kits supply the core fixings, but it’s worth checking what’s included against what the instructions assume. Post supports, joist hangers, and galvanised brackets are common gaps, particularly on kits aimed at the DIY market rather than professional installers.
A socket set is handy for any coach bolts, and a set of timber clamps makes holding joints square while fixing them a much easier job for one person working alone.
Tools for Larger Timber Structures
Smaller kits, such as a simple pergola or a garden screen, can usually be handled with the tools above and a free Saturday. Larger structures are a different proposition, particularly anything built from heavier section timber.
A heavy timber pavilion, for instance, often involves longer beams, deeper joints, and considerably more weight to manoeuvre into place, which usually calls for an extra pair of hands, lifting straps, and stronger temporary bracing than a standard pergola would need. Looking at examples such as a Heavy timber Pavilion USA or a Heavy timber Pavilion Canada gives a useful sense of the scale involved, and why preparation matters more as the timber sections get larger.
For structures like this, a generator or extension reel is also worth having on site if power tools will be in use away from the house, along with a step ladder rated for the height of the ridge beam.
Safety Equipment Worth Having
Timber frame assembly involves enough lifting, cutting, and overhead work that basic protective gear shouldn’t be an afterthought. Safety glasses, work gloves, and ear defenders for power tool use cover most of the risk. Steel-toe boots are worth it too, particularly when shifting longer beams or posts into position.
For anything involving a base course of concrete, knee pads make the job considerably more comfortable, and a dust mask is sensible when cutting treated timber.
Tools Worth Renting Rather Than Buying
Some equipment only earns its keep on a single project. A post hole auger, a concrete mixer, or a larger generator for bigger pavilions are all worth hiring for the day rather than buying outright, particularly for a one-off garden build. Most hire shops stock these as standard, and renting often works out cheaper than buying tools that will sit unused afterwards.
Conclusion
The right tools turn a timber frame kit from a stressful weekend into a straightforward build. Hand tools handle the fine adjustments, power tools speed up the repetitive work, and levelling equipment keeps everything square from the first post onwards. Larger structures simply ask for a bit more preparation, a few extra hands, and equipment suited to the scale of the timber involved.
Gathering everything before delivery day, rather than midway through assembly, is usually the single biggest factor in whether a build goes smoothly.